
Friday, 9 December 2011
Friday, 2 December 2011
Roulette 4

The way I made the chip was flatten a cylinder and select the right segments to colour in. the picture in the centre was taking off google and applied to a top of a cylinder, which i cut off and applied ontop of the other cylnder to mak the finished product. I changed the colours to have 5 different type of chip.

Thursday, 1 December 2011
Roullete 3

This is the my roulette table at the moment, i added the grid and numbers on the table which was made with lots of stretched cubes and flat circle panes. i added a few diamonds on the roullette wheel aswell & a groove on the inside of the wheel. I still need to finish off the table, edit the background to make the finished render look better and i'll add chips on the table.
Friday, 25 November 2011
roulette 2

here is my roulette wheel after putting on all the numbers and a few other details, it was quite time consuming but it came out looking good afterwards, i still have sall details to add on the wheel, but i think it looks great so far.
My roulette table so far

Here is my roulette table so far, I started off with a circle which i selected half the segments and stretched out into the table shape, then inner extruded, then extruded. i added the velvet colour and the wood textures. to make the roulette wheel I made a cone, then another cone upside down with the bottom cut off, to colour in the segments i selected each segment individually and coloured them in.
there are dividers between each colour on the wheel, i first tried to use array to make 37 of them in a circle, but this seemed to not fit right when change the frequency etc. so instead copied and pasted and lined each up by hand.
The gold handel was made from a cylinder which i moved the segments in and out.
next im going to put the numbers in the segments, and on the table.
Friday, 18 November 2011
Idea

Friday, 11 November 2011
Bigweld dominoes

Bigweld

I didnt look at any tutoriols to make this, i got my references from a few different pictures on google which werent allways easy to make out. alot of this took anitiative to work out how to make the parts, such as making the shell around the sphere which i made in different ways untill i worked out the best looking way. One of the things that i like the best about the finished outcome is the colour i used for the dark shell and the gold rim, i used an imagine of stripes and multiplied it onto the colour to make the stripes along it which makes it look more like the character. I also like the panel on the front which i made from a cilinder which i turned into alot of segments and draged each segment to make it curve, then booled it to make it flat. if i had to improve it it would be to make the colours as perfect as possible.
Friday, 21 October 2011
Colourful Explosion Font

I used a site called picnik.com which is a really good site for editing pictures.
Research.1

Research

3D Text Explosion

I Followed a tutoriol, but changed things as i went along. I had to use explosions on different text and objects to make the shards and cluster of shards on the middle. The text had to all be seperated so then i could slant each one seperately. After ide created the text with the explosions, i had to open it on photoshop and then add clouds, lightning, smoke and colour to make it look like this.
I like how the picture came out, my favourite bits is the smoke wrapping aorudn the text, what i would change would be to make the lightning follow the text more.
Friday, 7 October 2011
Puppet theatre

The lighting has made it look even more realistic , and i like the affect of the real feel to it which could allways be used in advertising of the game. To create this i used advanced skills which i learned in previous tutorials.
Friday, 30 September 2011
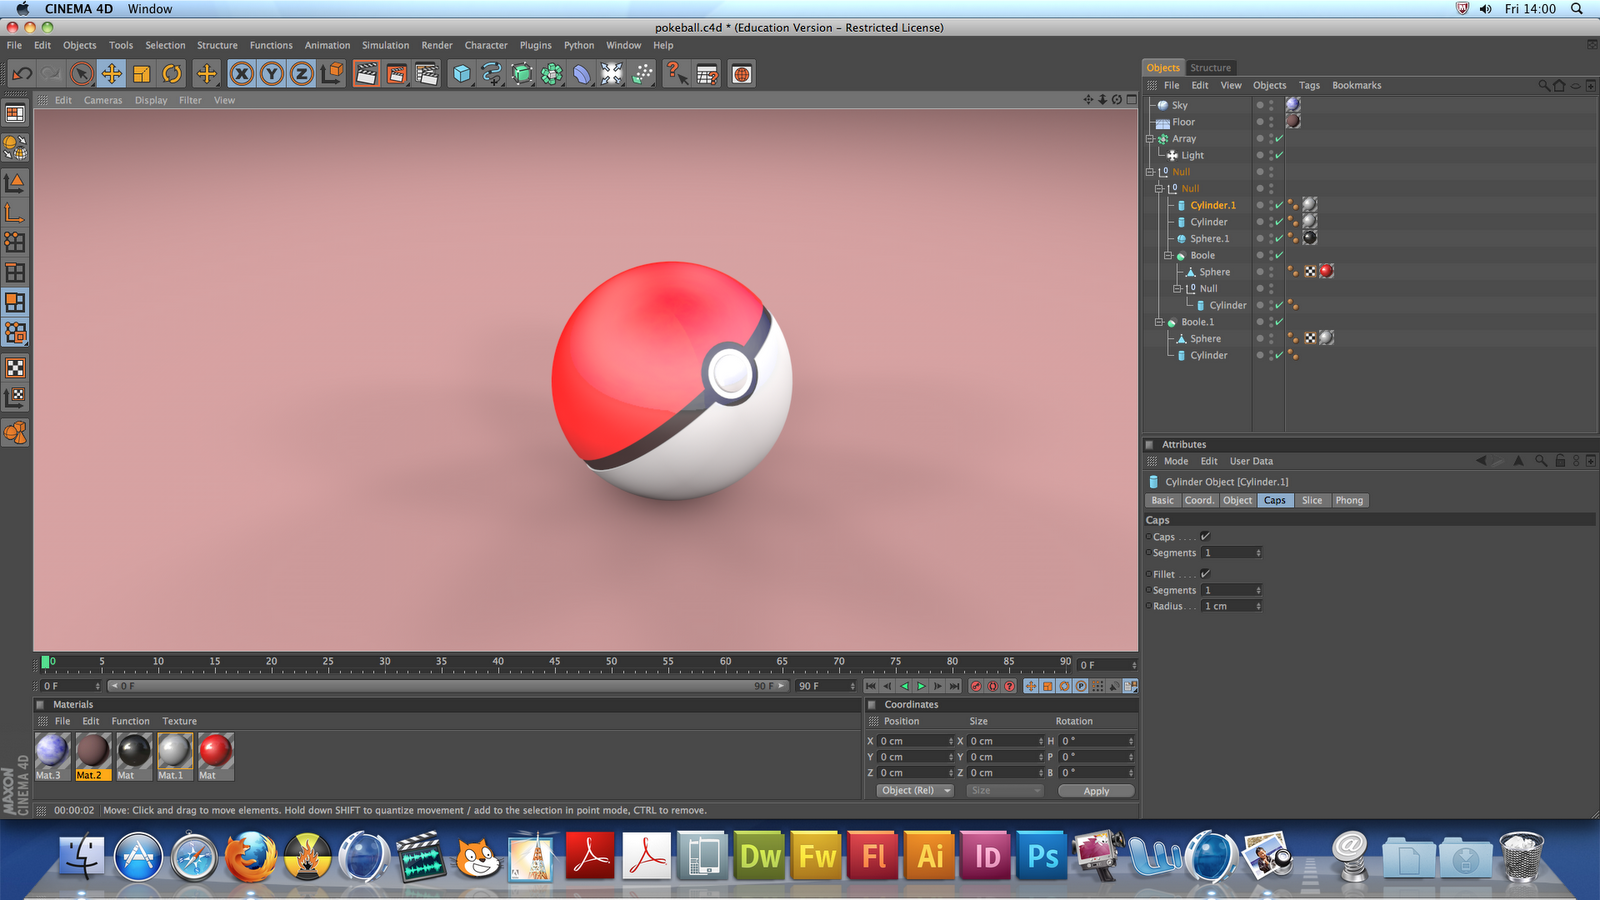
Pokeball
Friday, 23 September 2011
My name 3D

First 3D model

Subscribe to:
Comments (Atom)